Adding VPN Connection for MACs
Step 1: Setup for MAC
Enter VPN settings manually
- On your Mac, choose Apple menu > System Preferences, then click Network.
- Click the Add button in the list at the left, click the Interface pop-up menu, then choose VPN.
- Click the VPN Type pop-up menu, then choose L2TP. Give the VPN service a name of <InsertCompany Name> then click Create.
- Enter the server address <InsertCompanyName>.oklait.com and the account name <InsertUserName> for the VPN connection. Password is <InsertPassword>
- Click Authentication Settings, then enter the information you received from the network administrator. Password is <InsertPassword>. SharedSecret or Passphrase is <InsertSharedSecret>
- Click OK to close popup.
- Check the “Show VPN Status in menu bar” button.
- Click on Advanced… Under Session Options, Check the box for “Send all traffic over VPN connection”
- Click OK to close popup
- Click Apply.
- Go up to VPN icon in menu bar, click Connect
Step 2: Accessing Remote Computer
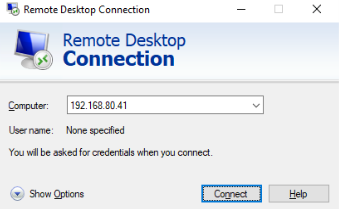
- Open Remote Desktop Connection or download Microsoft Remote Desktop from App Store on MAC
- Computer: <InsertIPAddress>
- Username: <InsertUserName>
- Password: <InsertPassword>
- Click Yes to popup